
H7 G8 LED Bulb Installation Hints and Tips
- BULB ANGLE
- EASIER INSTALLATION
ADJUSTABLE BULB ANGLE
PLEASE NOTE: In most cases, all bulbs are initially set to an optimal operating angle and adjustment is not always required. Adjusted bulb angles have a direct impact on driving safety. Proper headlight adjustment is critical both for your vehicle and oncoming vehicles.
On these bulbs, you can easily adjust the angles specifically for the lights of your vehicle.
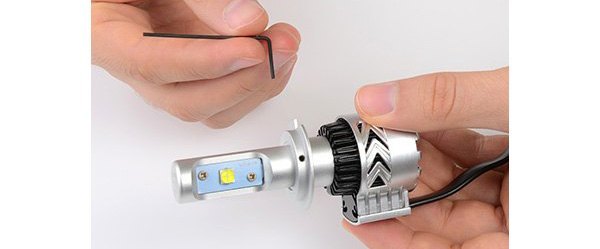
STEP 1. Rotate the bulb relative to the lamp base.
NOTE: On some bulb models, the bulb can be rotated by twisting it along a spring-loaded stop. On other bulb models, a set screw must be loosened with the appropriate hex wrench. These kits use a 1.27mm or 0.05 standard hex key or allen wrench for the set screw.
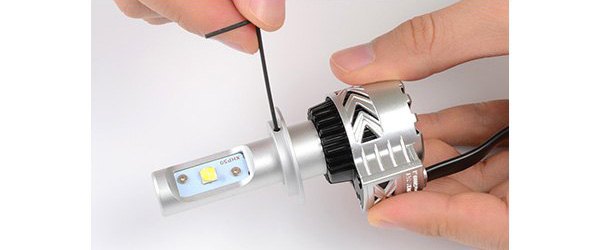
STEP 2. Rotate the bulb in the headlamp housing until the optimal beam pattern is found. Tighten the set screw if loosened in Step 1.
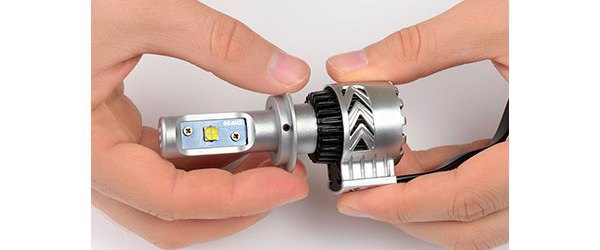
Caution! Be careful when adjusting the bulb angle since adjustment may cause a blurry cut-off line and unfocused low and high light beams.
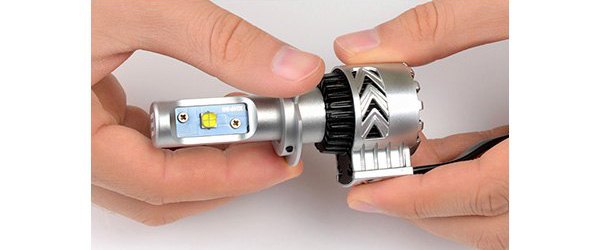
STEP 3. The bulb is adjusted and installation can be completed.
Caution! We recommend adjusting bulb angles only if absolutely necessary.
REMOVABLE RETAINER RING FOR EASIER INSTALLATION

NOTE: On some bulb models, the bulb can be rotated by twisting it along a spring-loaded stop. On other bulb models, a set screw must be loosened with the appropriate hex wrench. These kits use a 1.27mm or 0.05 standard hex key or allen wrench for the set screw.
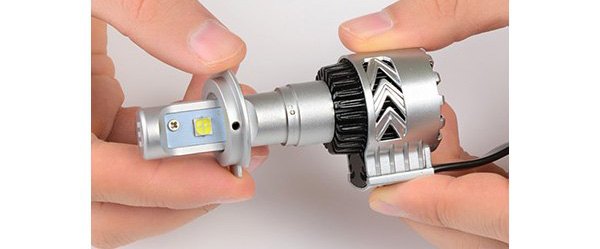
For some headlamp assemblies, space is tight for fitting the new bulb. The retainer ring can be temporarily removed so that the bulb can be installed and secured, after which the retainer ring can be reinstalled.
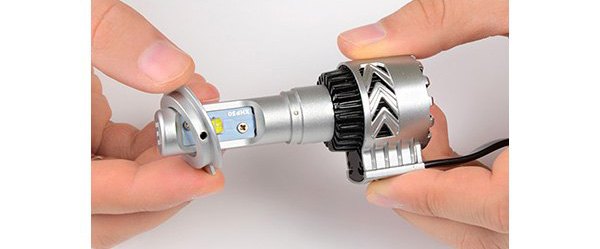
Caution! Do not leave the retainer ring off the bulb, as doing this may cause will shorten the life of the bulb.
